Methodology
Building Apps from Ideas
Aqsa Inam · March 26, 2026 · 7 min read
Tenkr has an application building pipeline that turns a raw idea into a running application. The pipeline has seven steps, each handled by a specialized persona. You start with messy notes and end with a deployed app — or stop at a polished spec if that is all you need.
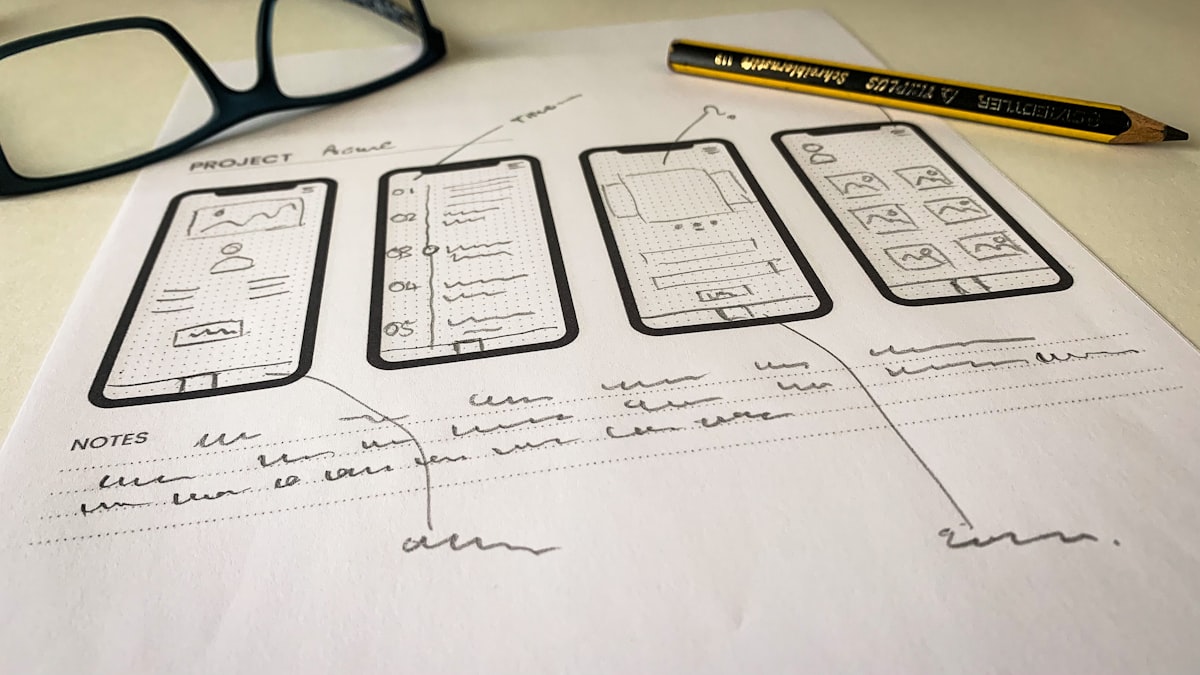
The Pipeline at a Glance
The pipeline flows through seven steps. Each step has a persona and a concrete output.
- Requirements Clarity Specialist → Clarified requirements document
- User Experience Architect → Workflow design document
- Interface Architect → Screen design document
- Data Architect → Database design document
- Technical Product Owner → Final spec
- Copy Strategist → Audited final spec
- Autonomous Builder → Running application
Each step tells you the next one to run. You do not need to memorize the sequence.
When to Use This Pipeline
Use the application building pipeline when you want to go from an idea to an application and you want Tenkr to handle the requirements engineering. The pipeline is opinionated — it forces you through requirements clarification, workflow design, screen design, database design, and spec consolidation before any code is written. This front-loading catches problems that would otherwise surface during implementation.
This pipeline is different from the planning pipeline described in Brainstorm, Preplan, Build. That pipeline is for tasks within an existing codebase — investigating architecture, making design decisions, executing changes. The application building pipeline is for greenfield applications where the codebase does not exist yet.
Step by Step
Step 1: Clarify Requirements
Drop your raw materials — notes, docs, screenshots, mockups, reference links, anything. Then start the process.
The Requirements Clarity Specialist brainstorms with you. It asks one question at a time, focusing on who the users are, what problem you are solving, what success looks like, and what scope is reasonable for version 1. It does not ask about technical details — those come later.
The output is a clarified requirements document with clear sections for overview, users, problem statement, success criteria, scope, and constraints. No ambiguity remaining, or ambiguities explicitly flagged as open questions.
This step catches the most expensive mistakes. “Build me a dashboard” becomes “Build a dashboard for the marketing team showing campaign performance by channel, refreshed daily, accessible on mobile, with role-based access for managers vs analysts.” That specificity prevents redesign later.
Step 2: Design Workflows
The User Experience Architect takes the clarified requirements and designs how users will interact with the application. What are the user journeys? What happens when someone signs up, creates a resource, searches for data, handles an error? Each workflow is a sequence of user actions and system responses.
Step 3: Design Screens
The Interface Architect converts workflows into screens. Each screen gets a description of what the user sees, what actions are available, and how data is displayed. This is not pixel-perfect mockups — it is structural screen design that tells the builder what to render.
From idea to running app. See how Tenkr builds.
Browse plugins →Step 4: Design the Database
The Data Architect looks at the workflows and screens and designs the data model that powers them. Tables, columns, relationships, indexes, and constraints. The design accounts for the queries implied by the screens — if a screen shows “recent orders by customer,” the schema supports that query efficiently.
Step 5: Consolidate into Final Spec
The Technical Product Owner reads all four design documents and synthesizes them into a single comprehensive specification. Requirements, workflows, screens, data model, and implementation notes — in a format that a builder can execute against.
Step 6: Audit Copy
The Copy Strategist reviews the final spec and audits every piece of user-facing text. Button labels, error messages, onboarding copy, placeholder text, tooltips. Every word that a user will eventually read gets scrutinized for clarity, consistency, and tone.
Step 7: Build the App
This is where spec becomes software. The build step converts the final spec into a builder-compatible format, initializes the project directory, and launches an autonomous build process. The builder works through features one by one.
You choose between two modes:
- Standard mode: Each feature is verified in a browser via automated testing. Higher confidence, slower.
- YOLO mode: Features are verified by code analysis only. No browser testing. Faster, less visual validation.
The builder runs autonomously. You do not need to watch it. Check progress at any time. Pause and resume as needed. The build state is saved, so progress survives session restarts.
When to Skip Steps
You only need the spec, not the app. Stop after step 6. The final spec is a valid deliverable on its own. You can hand it to a developer, use it as a PRD, or feed it to a different build system.
Requirements are already clear. Skip step 1 and start at workflow design. You will need your requirements documented or be ready to answer the workflow designer's questions directly.
You already have a spec. If you wrote the spec yourself or received it from a product manager, jump straight to the build step. The builder needs a final spec — it does not care how it was created.
Common Mistakes
Skipping requirements clarification for complex projects. If your idea involves multiple user types, integrations with external services, or non-obvious scope boundaries, step 1 saves you from building the wrong thing. The 30 minutes spent clarifying requirements prevents days of rework.
Trying to build without a final spec. The build process looks for a finalized specification. Without one, it will ask you to run the product owner step first. The spec is the contract between design and implementation.
Not checking build progress. The builder runs in the background. If you forget about it, check status to see whether it completed, hit an error, or is still working through features. Build progress is tracked persistently, so status survives session restarts.
Browse the catalogue
Pick the plugin that fits your workflow.
Three plugins live. From kr 850. One-time. Yours forever.